The rain was tapping gently against the kitchen window last Sunday afternoon when I decided it was finally time to try making my own sandwich bread. My daughter had been asking why our bread didn’t smell like Grandma’s house, and I realized she’d never experienced the magic of homemade loaves cooling on the counter, filling every room with that unmistakable yeasty warmth. I’d been intimidated by bread-making for years, convinced it required skills I didn’t possess, but something about that quiet, rainy day made me brave enough to try. As I measured flour and watched the yeast bloom into a frothy cloud, I understood why my own mother used to say that baking bread was less about following a recipe and more about creating something that feels like home.
That first loaf wasn’t picture-perfect, but when I sliced into it the next morning for my daughter’s school sandwich, the soft crumb and tender crust made me wonder why I’d waited so long. Homemade sandwich bread isn’t complicated or time-consuming in terms of active work, though it does require patience while the dough rises. What you get in return is bread that tastes genuinely fresh, slices beautifully without tearing, and contains only ingredients you can pronounce. This recipe makes two full loaves, which means you’ll have plenty for sandwiches, toast, and those midnight snacks when only a thick slice with butter will do.
Table of Contents
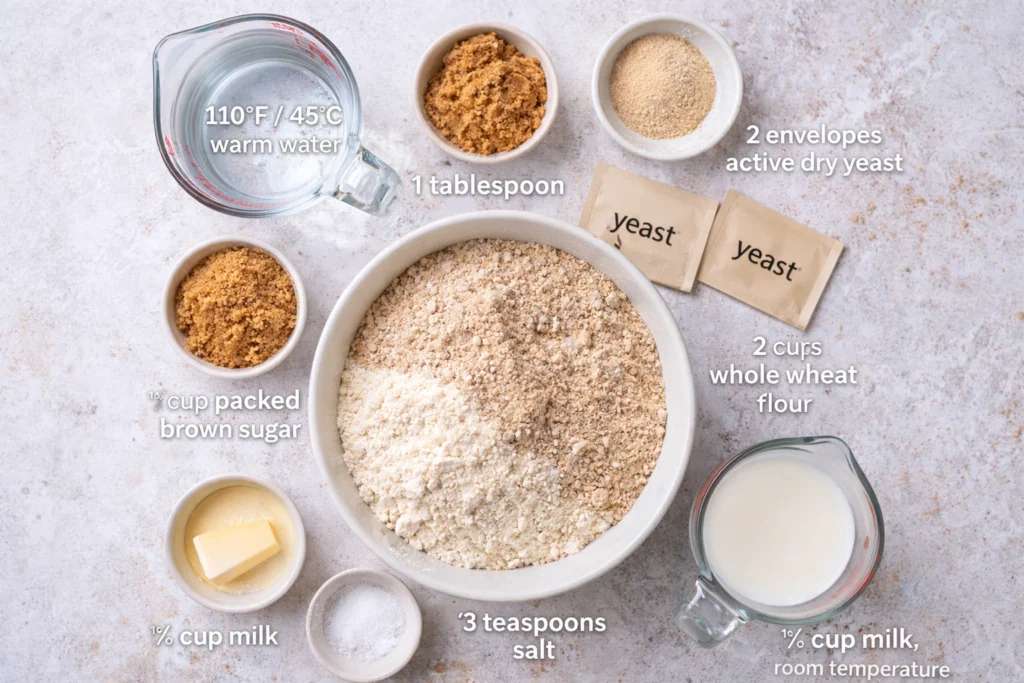
Essential Ingredients
- 1 ½ cups warm water (110 degrees F/45 degrees C)
- 1 tablespoon brown sugar
- 2 (.25 ounce) envelopes active dry yeast
- 2 cups all-purpose flour
- 4 cups whole wheat flour
- ⅓ cup packed brown sugar
- 2 teaspoons salt
- ⅓ cup vegetable oil
- ½ cup milk, room temperature
Preparation Steps (Step-By-Step Instructions)
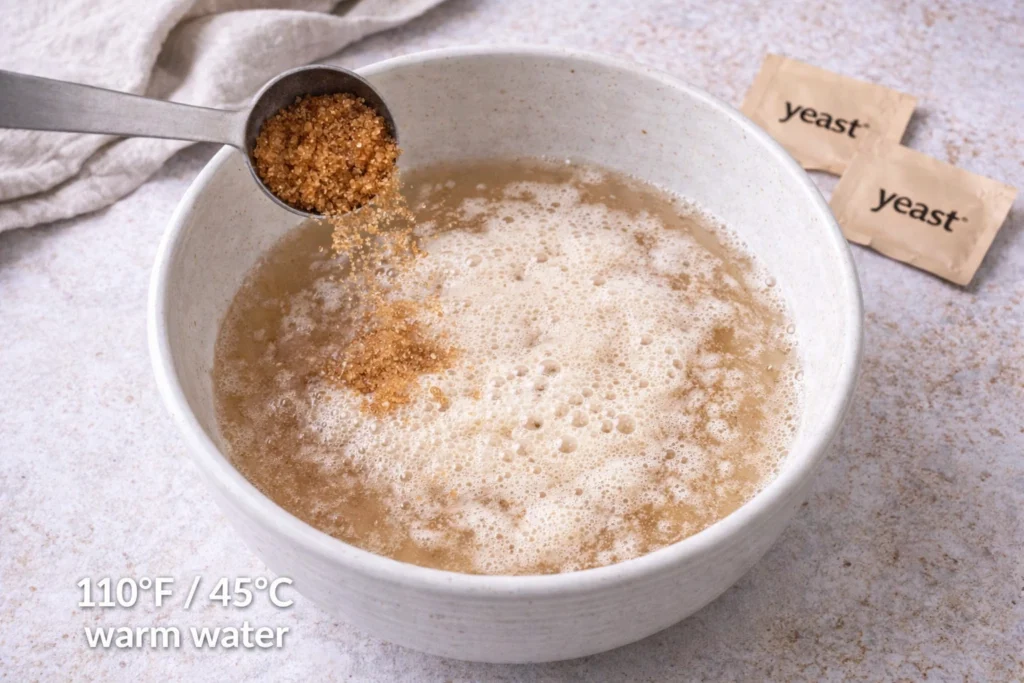
Step 1: Wake Up the Yeast
Pour your warm water into a large mixing bowl or the bowl of a stand mixer. Stir in one tablespoon of brown sugar until it dissolves completely. Sprinkle both envelopes of yeast over the surface and let the mixture sit undisturbed for ten minutes. The yeast is ready when it becomes puffy and fragrant with a foamy layer on top.
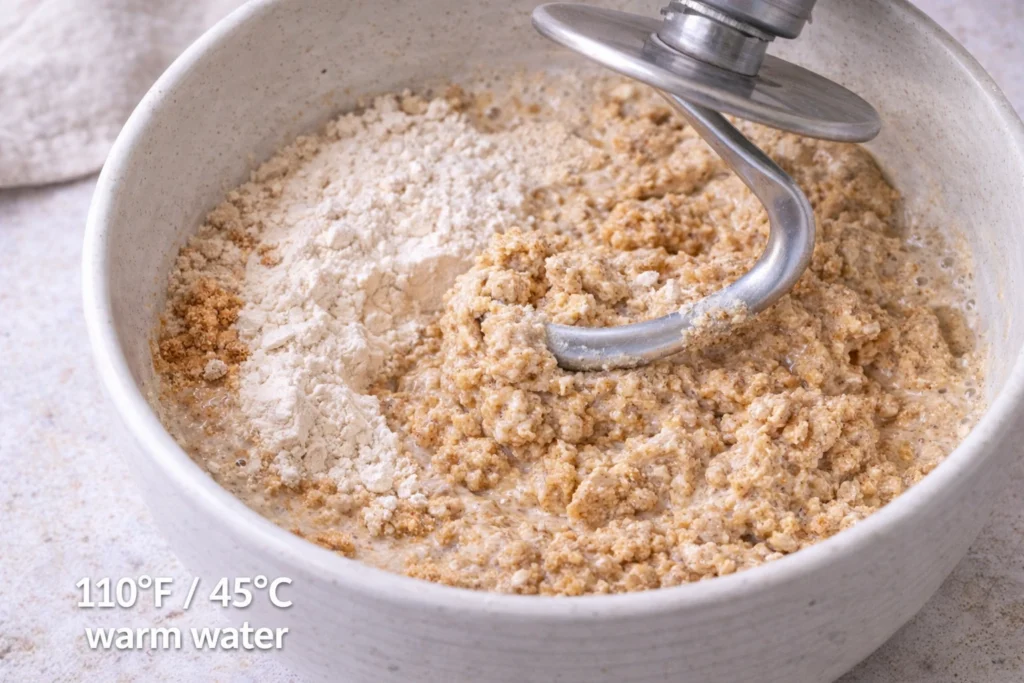
Step 2: Create the Dough Base
Add one cup of all-purpose flour and three cups of whole wheat flour to your yeast mixture. Pour in the brown sugar, salt, vegetable oil, and room-temperature milk. Using a stand mixer with a dough hook or mixing by hand with a sturdy wooden spoon, blend everything on low speed until the ingredients start coming together into a shaggy dough.
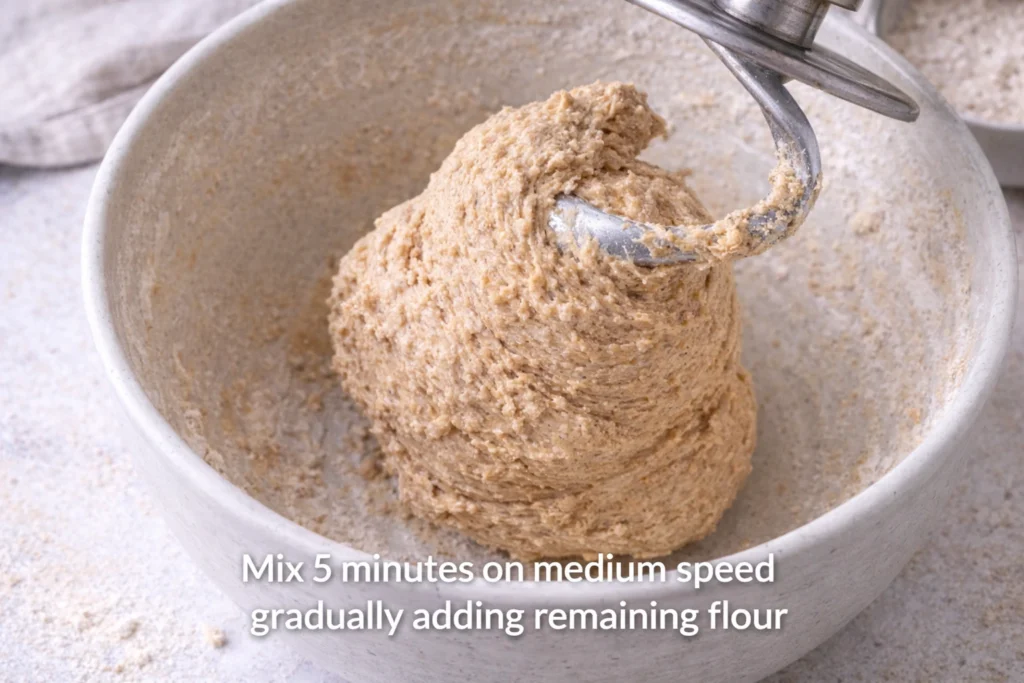
Step 3: Knead and Develop Gluten
Increase your mixer speed to medium and begin adding the remaining flour gradually, about half a cup at a time. Watch your dough carefully and add just enough flour until it pulls away cleanly from the bowl sides and clings to the dough hook. You might not use all the flour depending on humidity. Continue mixing on medium speed for five full minutes to develop the gluten strands that give sandwich bread its structure.
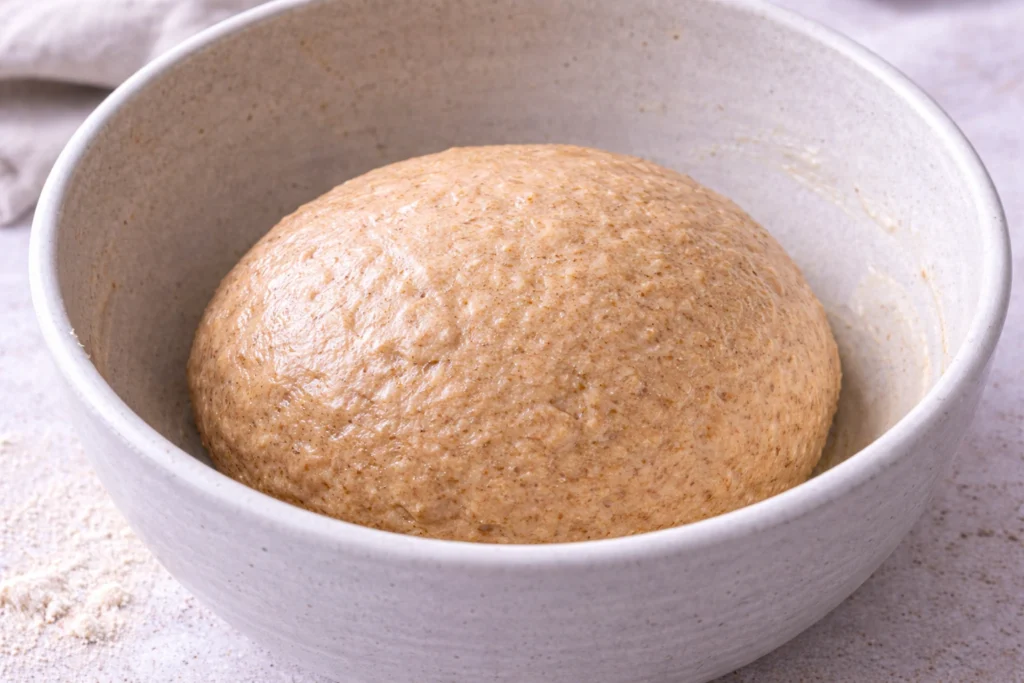
Step 4: Let the Dough Rise
Lightly oil your mixing bowl and turn the dough ball to coat it all over. This prevents the surface from drying out. Cover the bowl with a clean kitchen towel or loosely draped plastic wrap and place it somewhere warm and draft-free. Let it rise peacefully until doubled in size, usually about one hour.
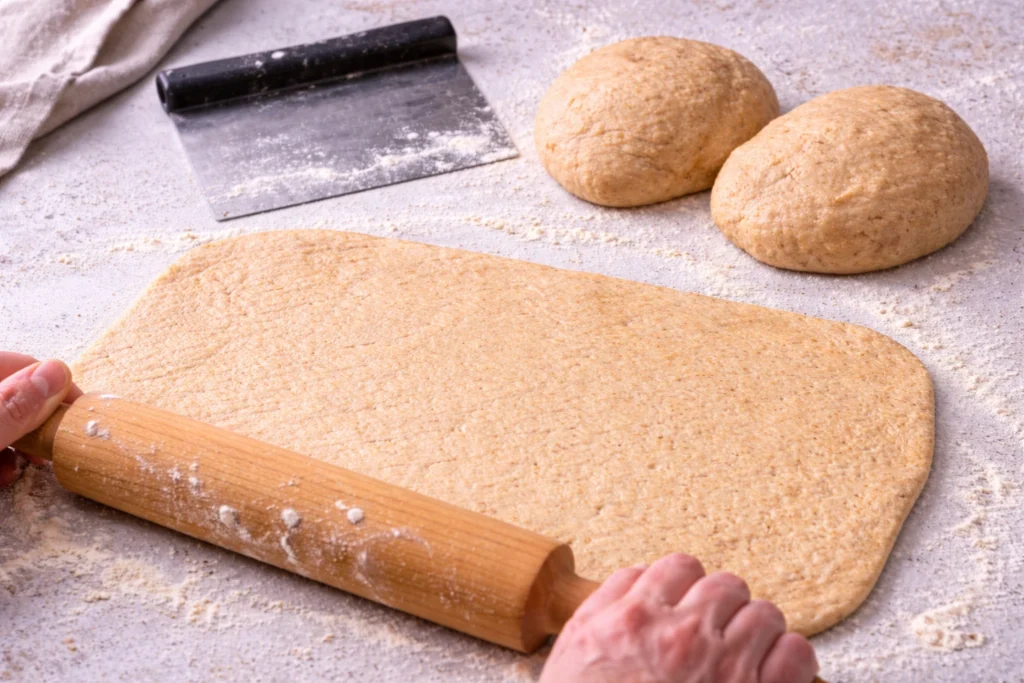
Step 5: Shape Your Loaves
Gently punch down the risen dough to release trapped air, then transfer it to a lightly floured counter. Divide the dough into two equal portions using a bench scraper or sharp knife. Roll each portion with a rolling pin into a rectangle measuring roughly sixteen inches by eight inches. Press down firmly as you roll to eliminate any air pockets hiding in the dough.
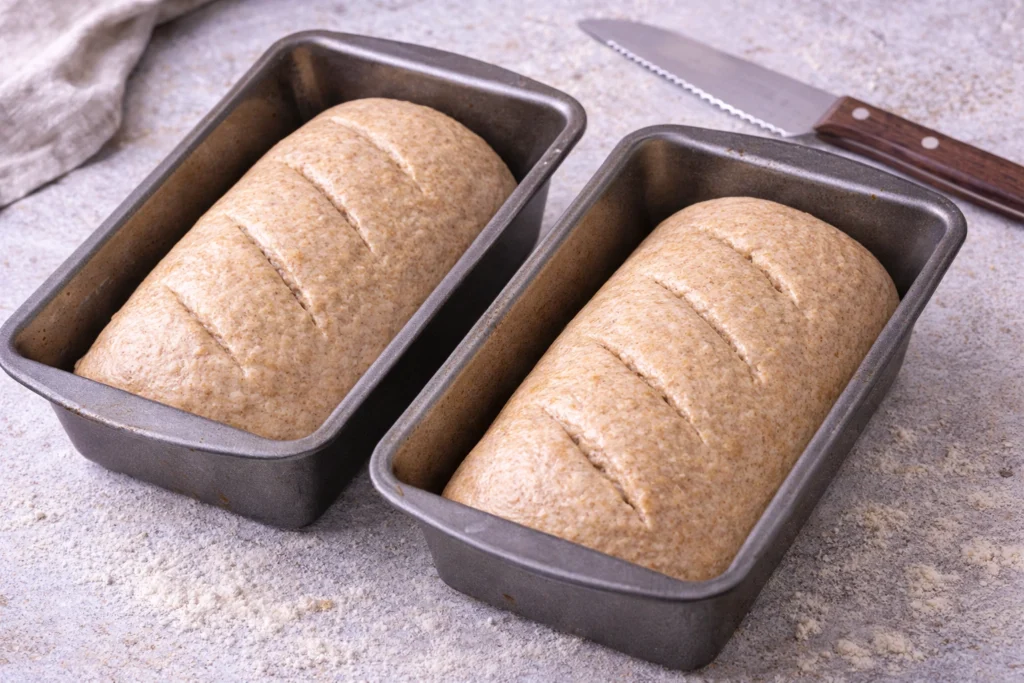
Step 6: Form and Prepare Second Rise
Starting from the short end, roll each rectangle tightly into a cylinder, working carefully to keep the roll even and tight. Pinch the seam closed with your fingers. Place each loaf seam-side down into a greased nine-by-five-inch loaf pan. Using a sharp serrated knife, cut three or four shallow diagonal slashes across the top of each loaf. Cover loosely and set aside to rise for thirty to forty-five minutes, until gently pressing your finger into the dough leaves an indent that stays.
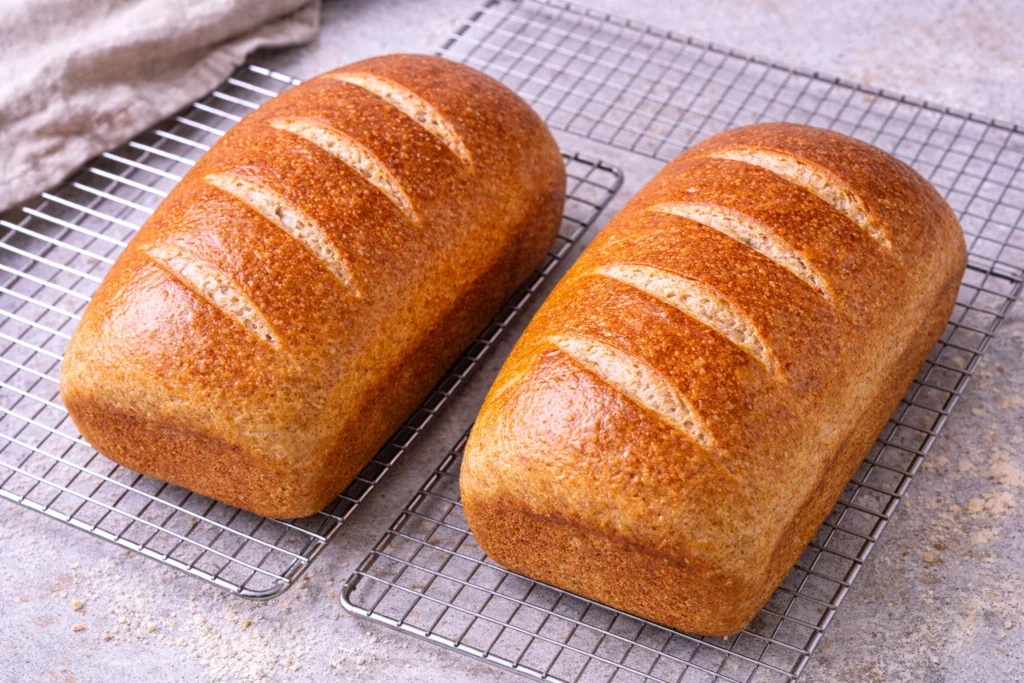
Step 7: Bake to Golden Perfection
While your loaves finish rising, preheat your oven to four hundred degrees Fahrenheit. Bake the risen loaves for fifteen minutes at this initial high temperature. Without opening the oven door, reduce the heat to three hundred fifty degrees Fahrenheit and continue baking for thirty more minutes. Your sandwich bread is done when the tops are deep golden brown and the loaves sound hollow when tapped on the bottom. Immediately turn the loaves out onto a wire rack to cool completely before slicing.
Why You Will Love This Recipe
This sandwich bread brings bakery-quality freshness to your kitchen without requiring professional equipment or advanced skills. The combination of whole wheat and all-purpose flour creates nutritious bread that’s still soft and mild enough for picky eaters. Making two loaves at once means less work overall and gives you the option to freeze one for later. The slight sweetness from brown sugar makes this bread perfect for both sweet and savory sandwiches. Most importantly, you’ll know exactly what’s in every slice, with no preservatives or unpronounceable additives.
Expert Tips For The Best Result
Always check your water temperature with a thermometer the first few times you make bread. Water that’s too hot kills yeast while water that’s too cool won’t activate it properly. Add flour gradually and trust your instincts about texture rather than measuring exactly. Different flours absorb moisture differently based on age and humidity. For an even softer crust, brush the hot loaves with melted butter immediately after removing them from the oven. Create an ideal rising environment by turning your oven on for sixty seconds, turning it off, then placing your covered bowl inside the warm space. If your kitchen is cold, rising times may need to extend by fifteen to thirty minutes.
Variations and Customizations
Transform this into hearty multigrain sandwich bread by adding half a cup of rolled oats, sunflower seeds, or flax seeds to the dough. Create cinnamon swirl bread by rolling the dough rectangles with a mixture of cinnamon and sugar before shaping. Add two tablespoons of dried herbs like rosemary or Italian seasoning for savory sandwich bread perfect with soups. Substitute honey for the brown sugar and add a handful of raisins for naturally sweet breakfast toast. You can also divide the dough into smaller portions and make sandwich rolls instead of loaves.
Serving Suggestions
Use this sandwich bread for everything from classic peanut butter sandwiches to gourmet grilled cheese that actually holds together. Toast thick slices for breakfast and top with avocado, eggs, or your favorite spreads. Make French toast that’s sturdy enough to soak without falling apart. Serve alongside soups and stews for dunking and savoring. This bread is perfect for school lunches, picnic sandwiches, and those late-night snacks when only fresh bread will satisfy. Day-old slices make exceptional breadcrumbs for coating or stuffing.
Storage and Freezing Tips
Store completely cooled sandwich bread in an airtight container or resealable plastic bag at room temperature for up to five days. Keep a small piece of paper towel in the bag to absorb excess moisture and maintain softness. To freeze, slice the bread first if you’d like to pull out individual slices as needed. Wrap each loaf tightly in plastic wrap, then aluminum foil. Frozen sandwich bread keeps beautifully for up to three months. Thaw at room temperature for several hours or toast slices directly from frozen. For maximum freshness, enjoy one loaf fresh while freezing the second.
Recipe FAQs
Can I make this sandwich bread by hand without a mixer? Absolutely. Mix the ingredients in a large bowl with a wooden spoon, then turn the dough onto a floured surface and knead by hand for about ten minutes until smooth and elastic. Your arms will get a workout, but the bread will be just as delicious.
Why is my sandwich bread dense instead of fluffy? Dense bread usually results from using too much flour or not kneading long enough to develop gluten. It can also happen if the dough didn’t rise sufficiently. Make sure your yeast is fresh and your rising environment is warm enough.
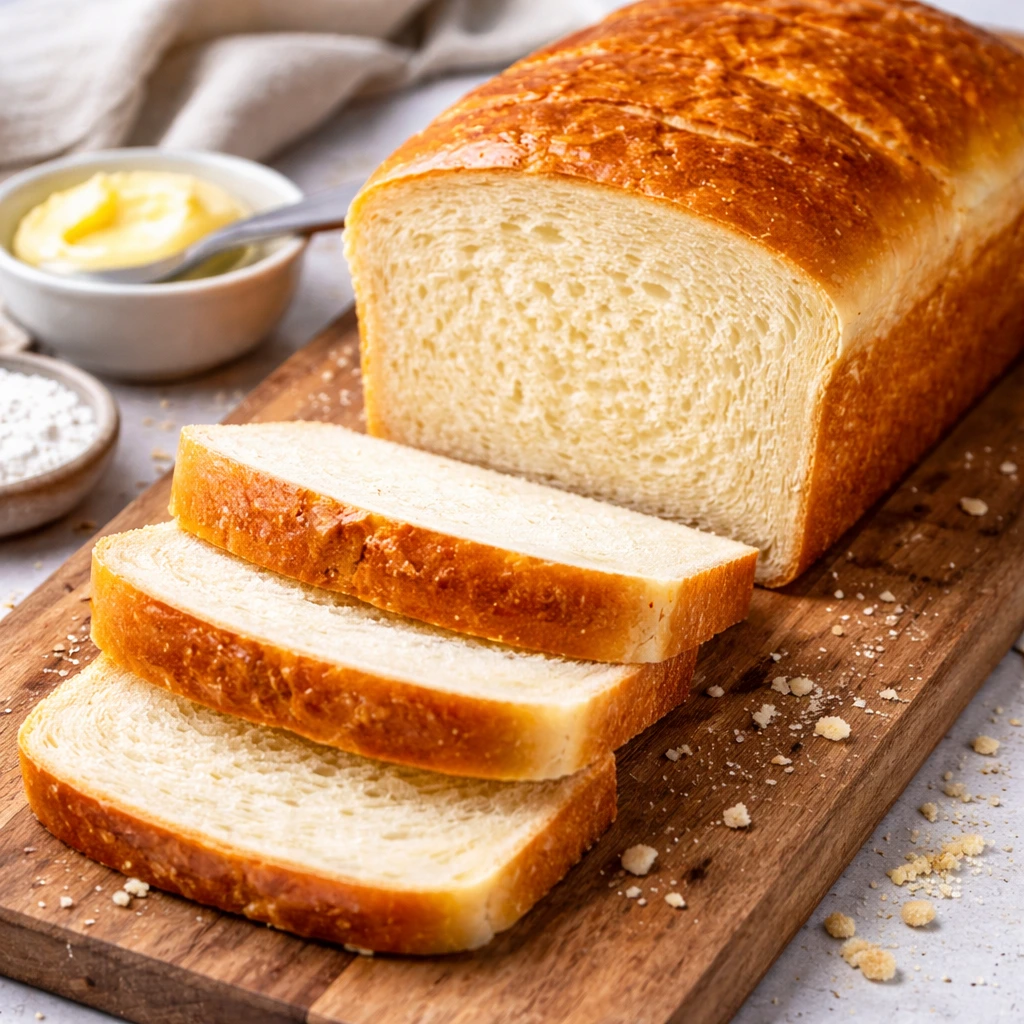
How do I get perfectly even slices? Let your sandwich bread cool completely before slicing, as warm bread compresses and tears easily. Use a sharp serrated knife and a gentle sawing motion rather than pressing down. A bread slicing guide also helps if you make bread often.
Common Mistakes to Avoid
Never rush the rising times, even if your dough looks ready early. Proper rising develops flavor and creates the light, airy texture that makes great sandwich bread. Avoid adding too much flour during kneading, which creates dry, crumbly bread that doesn’t slice well. Add flour gradually and stop as soon as the dough clears the bowl. Finally, resist the temptation to slice into hot bread. The interior is still setting as it cools, and cutting too early results in gummy texture and compressed slices that won’t hold sandwich fillings properly.
Conclusion
That rainy Sunday afternoon taught me that making sandwich bread isn’t about perfection or fancy techniques. It’s about taking simple ingredients and transforming them into something that makes your house smell like love and your sandwiches taste like childhood. I hope this recipe gives you that same quiet satisfaction.
Timing:
- Prep Time: 15 minutes
- Cook Time: 45 minutes
- Additional Time: 1 hour 45 minutes
- Total Time: 2 hours 45 minutes
- Servings: 24 slices (2 loaves)
Nutritional Information (per serving)
Each slice contains approximately 151 calories, 4 grams of fat, 27 grams of carbohydrates with 3 grams of fiber, and 4 grams of protein. This provides wholesome, satisfying nutrition perfect for fueling busy days.
Your New Go-To Comfort Food Awaits
Clear your afternoon, gather your ingredients, and discover why homemade sandwich bread will change the way your family thinks about lunch forever.
Sandwich Bread
Ingredients
Method
- Pour your warm water into a large mixing bowl or the bowl of a stand mixer. Stir in one tablespoon of brown sugar until it dissolves completely. Sprinkle both envelopes of yeast over the surface and let the mixture sit undisturbed for ten minutes. The yeast is ready when it becomes puffy and fragrant with a foamy layer on top.
- Add one cup of all-purpose flour and three cups of whole wheat flour to your yeast mixture. Pour in the brown sugar, salt, vegetable oil, and room-temperature milk. Using a stand mixer with a dough hook or mixing by hand with a sturdy wooden spoon, blend everything on low speed until the ingredients start coming together into a shaggy dough.
- Increase your mixer speed to medium and begin adding the remaining flour gradually, about half a cup at a time. Watch your dough carefully and add just enough flour until it pulls away cleanly from the bowl sides and clings to the dough hook. You might not use all the flour depending on humidity. Continue mixing on medium speed for five full minutes to develop the gluten strands that give sandwich bread its structure.
- Lightly oil your mixing bowl and turn the dough ball to coat it all over. This prevents the surface from drying out. Cover the bowl with a clean kitchen towel or loosely draped plastic wrap and place it somewhere warm and draft-free. Let it rise peacefully until doubled in size, usually about one hour.
- Gently punch down the risen dough to release trapped air, then transfer it to a lightly floured counter. Divide the dough into two equal portions using a bench scraper or sharp knife. Roll each portion with a rolling pin into a rectangle measuring roughly sixteen inches by eight inches. Press down firmly as you roll to eliminate any air pockets hiding in the dough.
- Starting from the short end, roll each rectangle tightly into a cylinder, working carefully to keep the roll even and tight. Pinch the seam closed with your fingers. Place each loaf seam-side down into a greased nine-by-five-inch loaf pan. Using a sharp serrated knife, cut three or four shallow diagonal slashes across the top of each loaf. Cover loosely and set aside to rise for thirty to forty-five minutes, until gently pressing your finger into the dough leaves an indent that stays.
- While your loaves finish rising, preheat your oven to four hundred degrees Fahrenheit. Bake the risen loaves for fifteen minutes at this initial high temperature. Without opening the oven door, reduce the heat to three hundred fifty degrees Fahrenheit and continue baking for thirty more minutes. Your sandwich bread is done when the tops are deep golden brown and the loaves sound hollow when tapped on the bottom. Immediately turn the loaves out onto a wire rack to cool completely before slicing.