It was one of those sticky August afternoons when the air felt thick and the ceiling fan barely made a difference. I remember sitting on my grandmother’s back porch, watching the sunlight filter through the pecan trees while she churned chocolate ice cream in that old hand-crank freezer. The anticipation was almost unbearable as we waited, taking turns at the handle, each rotation bringing us closer to that first perfect, creamy spoonful. That memory comes flooding back every time I make chocolate ice cream now, and while my kitchen tools have changed, the magic hasn’t. There’s something deeply comforting about creating this simple pleasure from scratch, transforming ordinary ingredients into something that brings pure joy with every cold, velvety bite.
Making your own chocolate ice cream connects you to something timeless and wonderfully satisfying. Unlike store-bought versions loaded with stabilizers and artificial flavors, homemade ice cream tastes clean, rich, and genuinely chocolatey. The process itself becomes a small celebration, whether you’re cooling down on a sweltering day or simply craving something sweet and nostalgic. This recipe delivers everything you want: deep chocolate flavor, silky smooth texture, and that incomparable freshness that only comes from your own kitchen.
Table of Contents
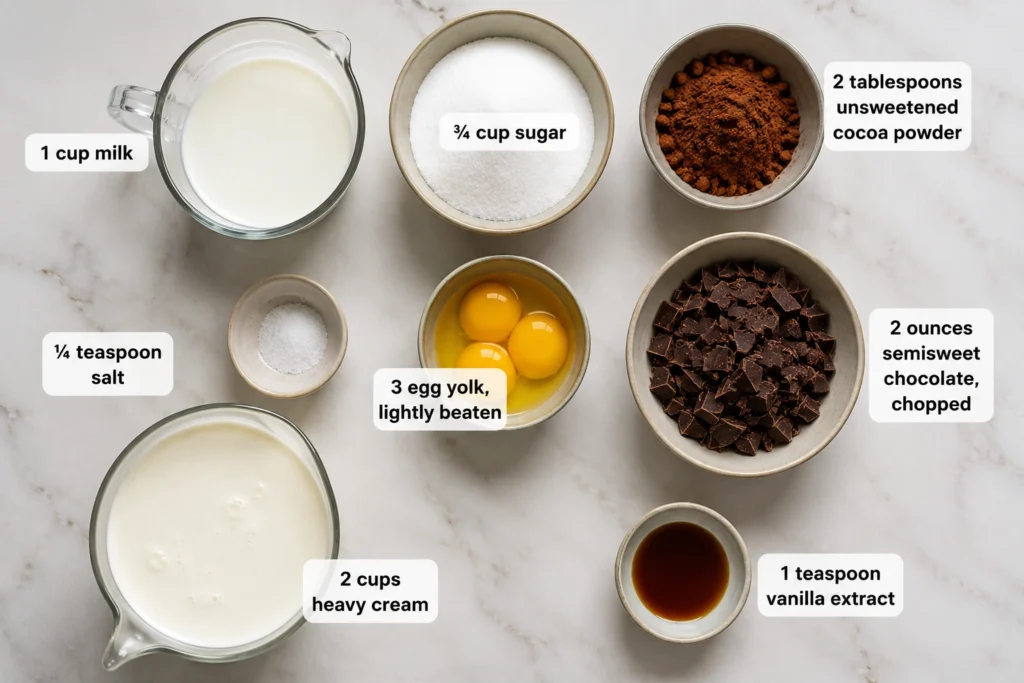
Essential Ingredients
- 1 cup milk
- ¾ cup sugar
- 2 tablespoons unsweetened cocoa powder
- ¼ teaspoon salt
- 3 egg yolk, lightly beaten
- 2 ounces semisweet chocolate, chopped
- 2 cups heavy cream
- 1 teaspoon vanilla extract
Preparation Steps (Step-By-Step Instructions)
Step 1: Prepare Your Ingredients
Gather everything you need and measure carefully. Lightly beat the egg yolks in a small bowl and set aside. Chop the chocolate into small, even pieces so it melts smoothly later.
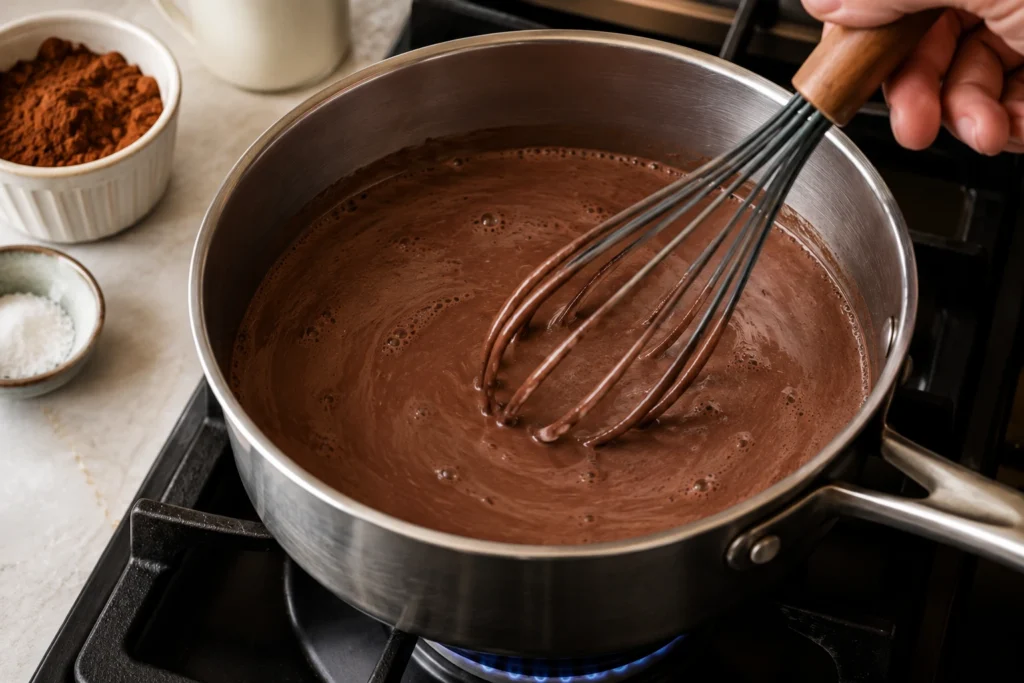
Step 2: Heat the Milk Mixture
Combine the milk, sugar, cocoa powder, and salt in a medium saucepan. Place over medium heat and stir constantly as the mixture warms. Continue stirring until it reaches a gentle simmer and the cocoa dissolves completely, creating a smooth, fragrant base.
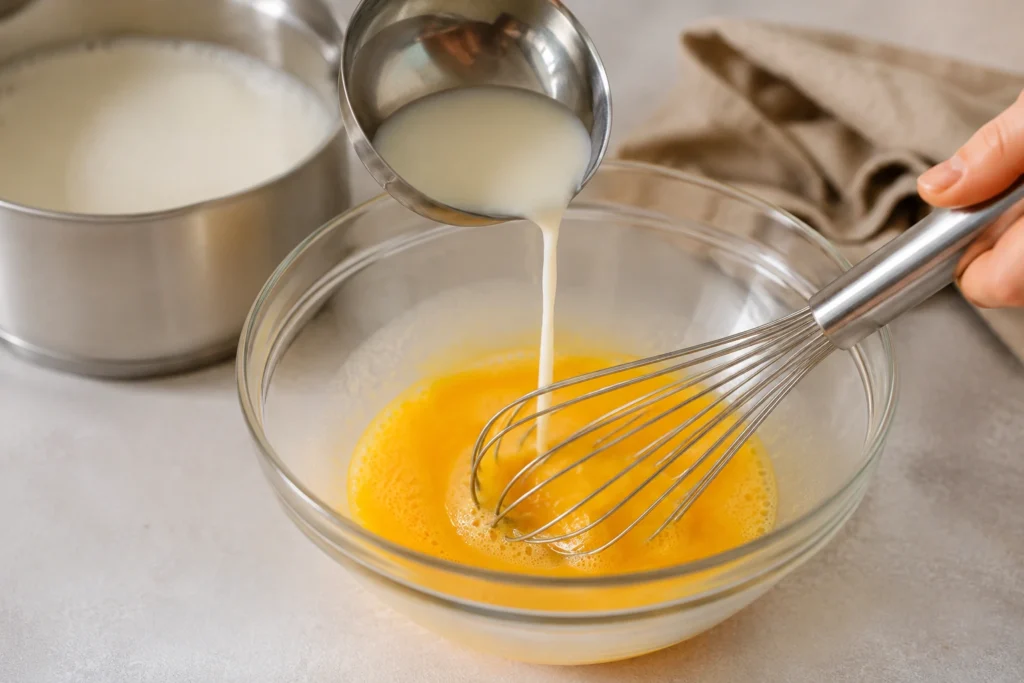
Step 3: Temper the Egg Yolks
This step prevents scrambled eggs and ensures silky custard. Slowly ladle about half a cup of the hot milk mixture into the beaten egg yolks while whisking continuously. This gradually raises the temperature of the yolks without cooking them.
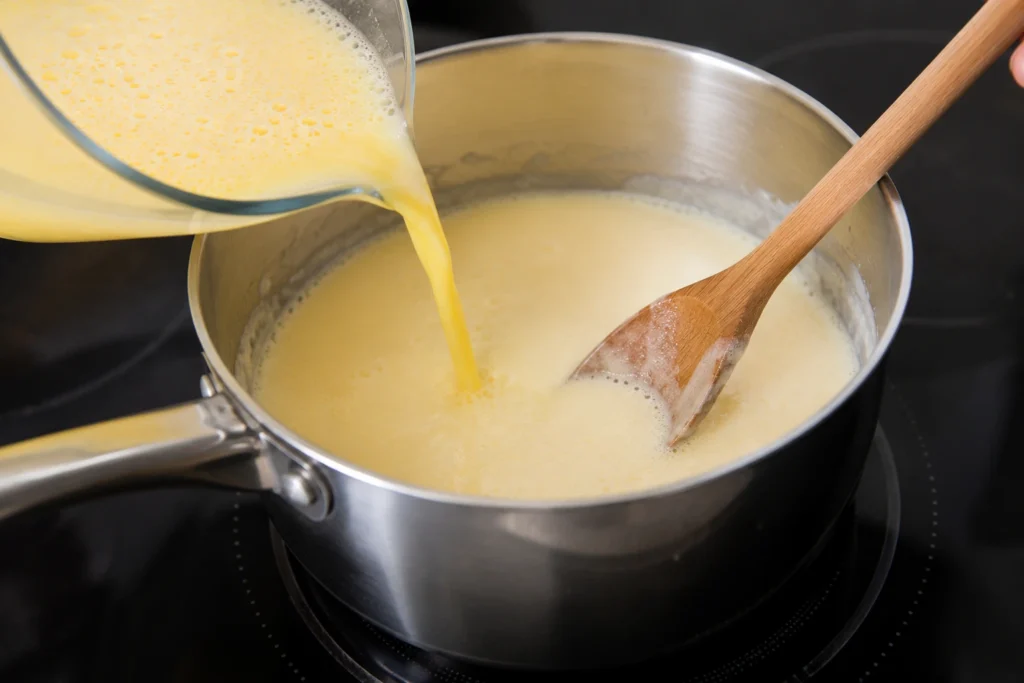
Step 4: Create the Custard
Pour the tempered egg mixture back into the saucepan with the remaining milk mixture. Continue heating over medium-low heat, stirring constantly with a wooden spoon or spatula. Cook until the mixture thickens enough to coat the back of your spoon, but never let it boil.
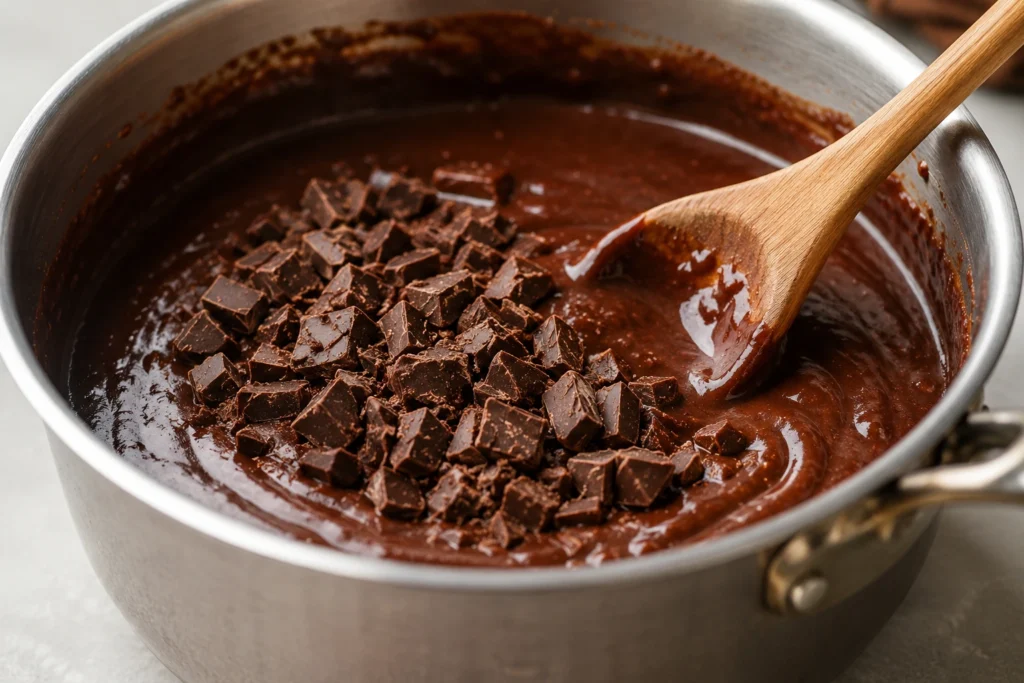
Step 5: Add the Chocolate
Remove the saucepan from heat immediately. Add the chopped chocolate and stir gently until it melts completely into the warm custard, creating a glossy, deeply flavored base.
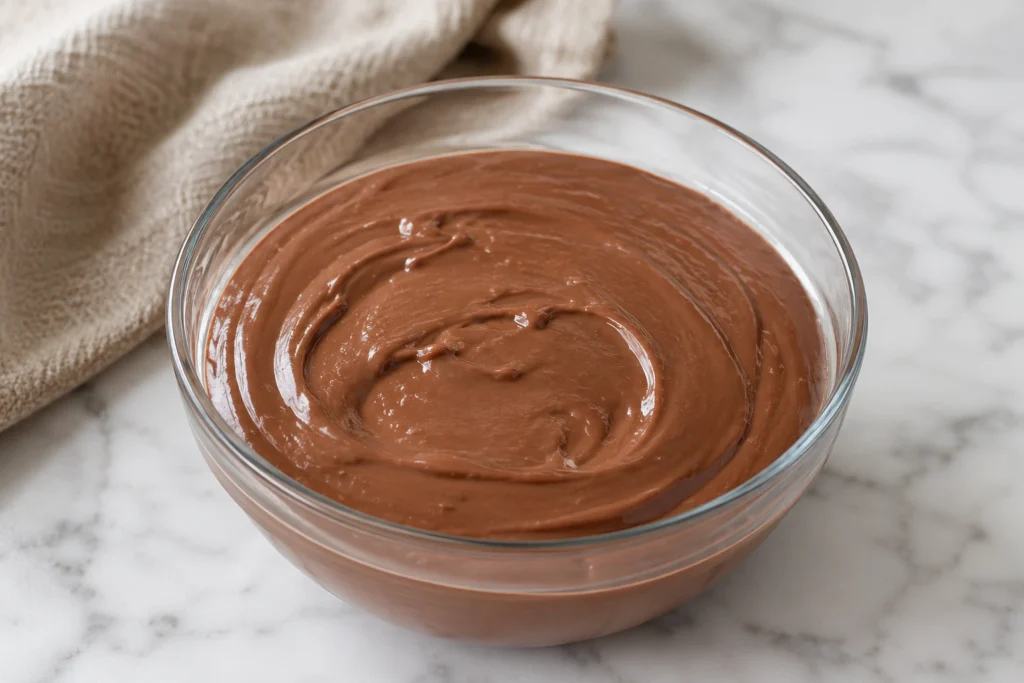
Step 6: Chill Thoroughly
Transfer the chocolate custard into a clean, chilled bowl. Cover and refrigerate for at least two hours, stirring occasionally to help it cool evenly. This chilling step is essential for proper freezing later.
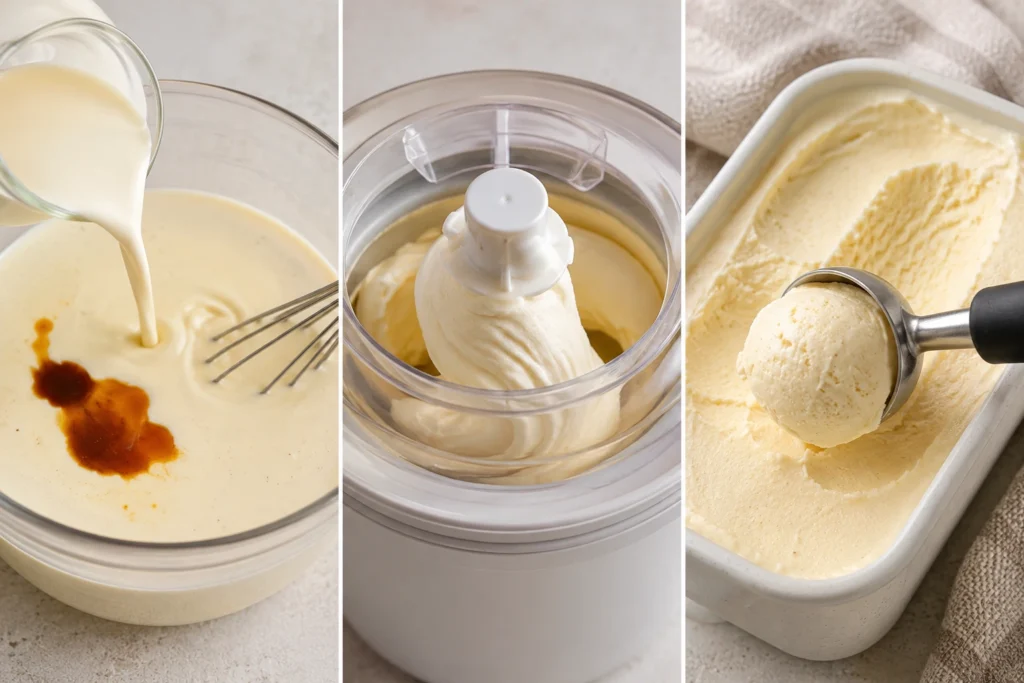
Step 7: Add Cream and Freeze
Once completely cold, stir in the heavy cream and vanilla extract. Pour the mixture into your ice cream maker and churn according to the manufacturer’s directions, typically about twenty minutes. Transfer to an airtight container and freeze until firm, usually several hours.
Why You Will Love This Recipe
This chocolate ice cream brings genuine comfort and satisfaction. The flavor tastes authentically chocolatey without artificial aftertaste. You control every ingredient, knowing exactly what goes into each scoop. The texture comes out incredibly creamy and smooth when you follow the custard method properly. It’s versatile enough for simple bowls or elegant desserts. Kids absolutely adore it, and adults appreciate the sophisticated, genuine chocolate taste. Making it yourself costs less than premium store brands while delivering superior quality and freshness.
Expert Tips For The Best Result
Use the freshest eggs possible for the richest custard. Stir constantly while cooking the custard base to prevent any scrambling or scorching on the bottom. Never rush the chilling process; thoroughly cold custard freezes better and smoother. For even deeper chocolate flavor, add an extra half ounce of chopped chocolate. Clean your ice cream maker bowl thoroughly and freeze it completely before churning. Let the finished ice cream soften at room temperature for five minutes before scooping for the perfect consistency.
Variations and Customizations
Transform this base recipe into endless possibilities. Fold in chopped nuts, chocolate chips, or crushed cookies during the last few minutes of churning. Swirl in caramel sauce or fudge ribbons before final freezing. Add a tablespoon of espresso powder to intensify the chocolate flavor dramatically. Replace half the chocolate with white chocolate for a marble effect. Infuse the milk with fresh mint leaves for mint chocolate ice cream, straining before adding the eggs.
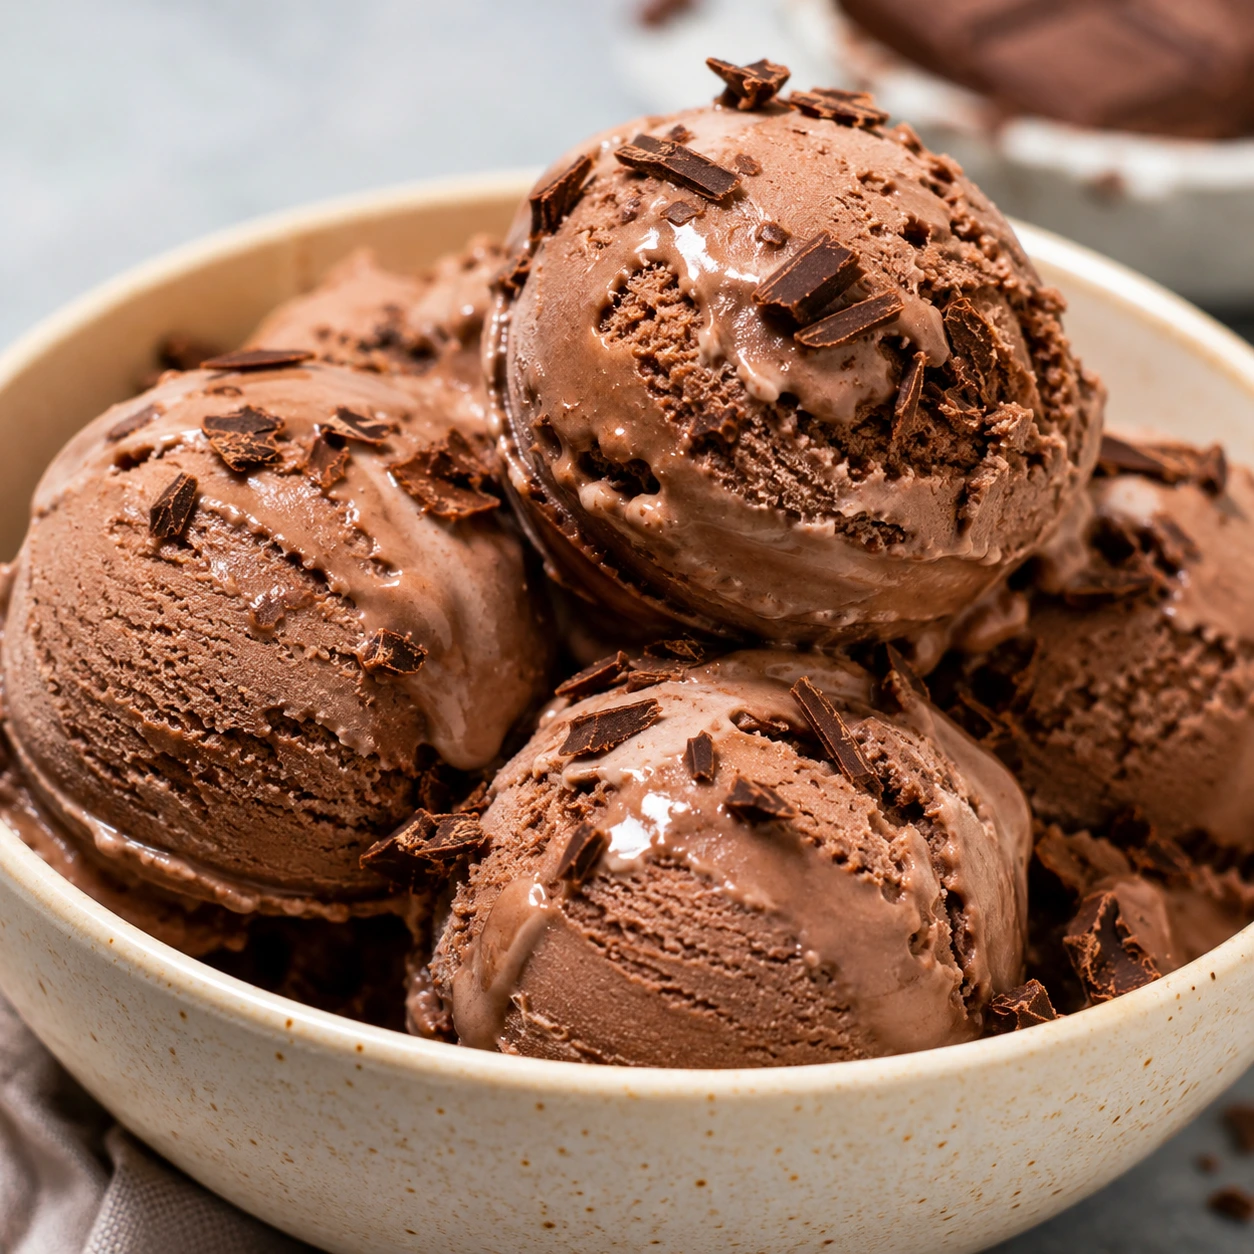
Serving Suggestions
Serve in chilled bowls topped with fresh whipped cream and shaved chocolate. Create elegant sundaes with sliced strawberries and toasted almonds. Sandwich between homemade cookies for irresistible ice cream sandwiches. Float scoops in cold milk for a classic ice cream float. Serve alongside warm brownies for the ultimate temperature contrast. Present in waffle cones for casual summer gatherings or in fancy glasses for dinner parties.
Storage and Freezing Tips
Store in an airtight container with plastic wrap pressed directly against the surface to prevent ice crystals. Properly stored chocolate ice cream keeps well for up to two weeks, though it tastes best within the first week. If it becomes too hard, let it sit at room temperature for ten minutes before scooping. The custard base can be prepared up to two days ahead and kept refrigerated until you’re ready to churn.
Recipe FAQs
Can I make this without an ice cream maker? Yes, though the texture won’t be quite as smooth. Pour the chilled mixture into a shallow pan and freeze, stirring vigorously every thirty minutes for about four hours until frozen.
Why did my custard curdle? The mixture got too hot or wasn’t stirred enough. Always keep the heat medium-low and stir constantly, removing from heat before it boils.
How can I make it even creamier? Use all heavy cream instead of mixing milk and cream, though this creates a much richer result that some find overwhelming.
Common Mistakes to Avoid
Boiling the custard base: This scrambles the eggs instantly. Keep the heat gentle and remove from heat as soon as it thickens properly.
Skipping the chilling time: Warm custard won’t freeze properly and results in icy, grainy texture instead of creamy smoothness.
Overfilling the ice cream maker: This prevents proper churning and air incorporation. Fill only two-thirds full for best results.
Conclusion
Every spoonful of this homemade chocolate ice cream carries a little piece of summer magic and kitchen love. Like those languid afternoons on my grandmother’s porch, making this recipe creates moments worth savoring and memories worth keeping. I hope it brings the same simple joy to your home that it continues to bring to mine.
Prep Time: 30 minutes
Cook Time: 10 minutes
Chilling Time: 2 hours
Churning Time: 20 minutes
Total Time: 2 hours 40 minutes
Servings: 8
Yield: 1 quart
Nutritional Information (per serving)
Each generous serving contains approximately 353 calories with 27 grams of total fat, including 16 grams of saturated fat. You’ll get 27 grams of carbohydrates with 24 grams of natural sugars, 4 grams of protein, and 161 milligrams of cholesterol. Sodium content sits at 111 milligrams, with 84 milligrams of calcium, 1 milligram of iron, and 119 milligrams of potassium per serving.
Your New Go-To Comfort Food Awaits
Let this chocolate ice cream become your signature summer treat, your rainy day comfort, and your sweetest kitchen triumph.
Chocolate Ice Cream
Ingredients
Method
- Gather everything you need and measure carefully. Lightly beat the egg yolks in a small bowl and set aside. Chop the chocolate into small, even pieces so it melts smoothly later.
- Combine the milk, sugar, cocoa powder, and salt in a medium saucepan. Place over medium heat and stir constantly as the mixture warms. Continue stirring until it reaches a gentle simmer and the cocoa dissolves completely, creating a smooth, fragrant base.
- This step prevents scrambled eggs and ensures silky custard. Slowly ladle about half a cup of the hot milk mixture into the beaten egg yolks while whisking continuously. This gradually raises the temperature of the yolks without cooking them.
- Pour the tempered egg mixture back into the saucepan with the remaining milk mixture. Continue heating over medium-low heat, stirring constantly with a wooden spoon or spatula. Cook until the mixture thickens enough to coat the back of your spoon, but never let it boil.
- Remove the saucepan from heat immediately. Add the chopped chocolate and stir gently until it melts completely into the warm custard, creating a glossy, deeply flavored base.
- Transfer the chocolate custard into a clean, chilled bowl. Cover and refrigerate for at least two hours, stirring occasionally to help it cool evenly. This chilling step is essential for proper freezing later.
- Once completely cold, stir in the heavy cream and vanilla extract. Pour the mixture into your ice cream maker and churn according to the manufacturer’s directions, typically about twenty minutes. Transfer to an airtight container and freeze until firm, usually several hours.